- Home
- Machining techniques
- CNC Machining Services
- Cooperative supply services
- Designs
- Materials
- Finishing Services
- Shop
- Products
- Guide
- About Us
- Contact Us
2022.1.15
The accuracy of the workpiece is the degree of compliance between the three parameters of the practical scale, shape and orientation of the machined part appearance and the aspirational parameters required by the drawing. A few parameters of ambition, in terms of scale, are uniform scale. For a few external shapes, they are definite circles, cylinders, planes, cones and straight lines. For the mutual orientation between appearances, it is certain that they are parallel, straight, coaxial, symmetrical, etc. The deviation between practical parameters and ideal parameters of parts is called machining error.
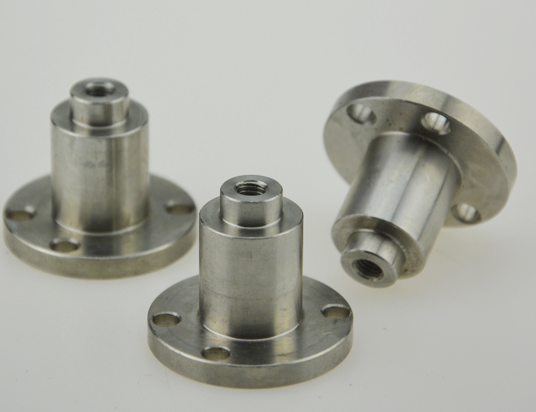
The accuracy of CNC machining is different measurement methods according to different accuracy contents and accuracy requirements. Generally speaking, there are the following types of methods:
1. According to whether the measured parameters are measured directly or not, it can be divided into direct measurement and indirect measurement.
Direct measurement: directly measure the measured parameters to obtain the measured scale. For example, measure with caliper and comparator. Indirect measurement: measure several parameters related to the measured scale, and obtain the measured scale through accounting. Obviously, direct measurement is more intuitive and indirect measurement is more cumbersome. Generally, when the measured scale or direct measurement cannot meet the accuracy requirements, indirect measurement has to be selected.
2. Whether the reading value of the measuring instrument directly indicates the value of the measured scale can be divided into positive measurement and relative measurement.
Positive measurement: The reading value directly indicates the size of the measured scale, such as measuring with vernier caliper.
Relative measurement: The reading value only indicates the error of the measured scale relative to the specification. If the diameter of the shaft is measured with a comparator, the zero position of the instrument shall be adjusted with the gauge block first, and then the measurement shall be carried out. The measured value is the difference between the diameter of the side shaft and the scale of the gauge block, which is the relative measurement. Generally speaking, the relative measurement accuracy is higher, but the measurement is more troublesome.
3. CNC precision machining is divided into touch measurement and non touch measurement according to whether the measured surface and the measuring head of the measuring tool are touched.
Touch measurement: The measuring head is touched with the touched surface and has the measurement force of mechanical effect. If measuring parts with a micrometer.
Non touch measurement: The measuring head does not touch the surface of the measured part. Non touch measurement can prevent the influence of measuring force on the measurement results. Such as projection method, light wave coherence method, etc.
4. According to the number of measurement parameters, it is divided into single measurement and inductive measurement.
Single measurement: Measure each parameter of the measured part separately.
Inductive measurement: Measure the inductive indicators that reflect the relevant parameters of parts. For example, when measuring the thread with an east-west microscope, the diameter, half angle error of tooth profile and cumulative error of pitch in thread practice can be measured respectively. Induction measurement generally has high power and is more reliable to ensure the interchangeability of parts. It is often used for the inspection of finished parts. Single measurement can determine the error of each parameter respectively. It is generally used for process analysis, process inspection and measurement of specified parameters.
5. According to the effect of measurement in the processing process, it is divided into active measurement and forced measurement.
Active measurement: The workpiece is measured in the processing process, and its results are directly used to control the processing process of parts, and then timely produce waste products.
Forced measurement: Measurement carried out after workpiece processing. Such measurement can only judge whether the processed parts are qualified, and the waste products can be found and removed.
6. According to the condition of the measured part in the measurement process, it is divided into static measurement and dynamic measurement.
Static measurement: The measurement is relatively static. Measure the diameter with a micrometer.
Dynamic measurement: When measuring, the measured surface and the measuring head make relative movement in imitating the working condition.
Dynamic measurement method can reflect the condition of parts close to use, and it is the development direction of measurement skills.
1. Scale accuracy
It refers to the consistency between the practical scale of the processed part and the public service belt center of the part scale.
2. Shape accuracy
It refers to the consistency between the practical shape of the machined part appearance and the ideal shape.
3. Azimuth accuracy
It refers to the difference in practical orientation accuracy between the relevant surfaces of the machined parts.
4. Mutual relationship
Generally, when designing the CNC machining accuracy of machine parts and specified parts, attention should be paid to controlling the shape error within the azimuth service, and the azimuth error should be less than the scale service. That is, for precision parts or important surfaces of parts, the shape accuracy requirements shall be higher than the azimuth accuracy requirements, and the azimuth accuracy requirements shall be higher than the scale accuracy requirements.
CNC machining accuracy is mainly used to produce products. CNC machining accuracy and machining errors are terms to evaluate several parameters of machining appearance. The accuracy of CNC machining is measured by the public service level. The smaller the level value, the higher the accuracy; The numerical value of machining error shows that the larger the value is, the greater the error is. Ti Hao machinery is the company’s main product with machine tool spindle, rotary thimble, lead screw and screw rod, shaft processing, NC lathe processing, tool handle tool rod and collet extension rod. The high precision of CNC processing means that the processing error is small, and vice versa. There are 20 public service grades from IT01, it0, it1, it2, it3 to it18. If IT01 indicates the CNC machining accuracy of the part, it18 indicates the CNC machining accuracy of the part. Generally, it7 and it8 are the medium precision of CNC machining.
The practical parameters obtained by any processing method are not sure to be accurate. From the perspective of the function of the part, as long as the processing error is within the public service range required by the part drawing, it is considered to ensure the accuracy of CNC processing. The quality of the machine depends on the machining quality of parts and the assembly quality of the machine. The machining quality of parts includes two parts: CNC machining accuracy and appearance quality.
The accuracy of mechanical CNC machining refers to the degree to which the practical parameters (scale, shape and orientation) of parts after machining are consistent with the ideal parameters. The difference between them is called processing error. The size of machining errors reflects the unevenness of CNC machining accuracy. The greater the error, the lower the accuracy of CNC machining, and the smaller the error, the higher the accuracy of CNC machining.
 Application Of Error Compensation In Improving Machining Accuracy | CNCLATHING
 Error Compensation For Improving Machining Accuracy Of CNC Machine
 CNC Machining VS Manual Machining: What is the Difference Between CNC and Manual Machining
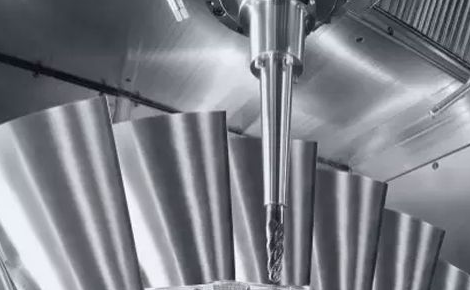 What Causes Roundness Errors On Machining Centers & How To Fix Them | CNCLATHING
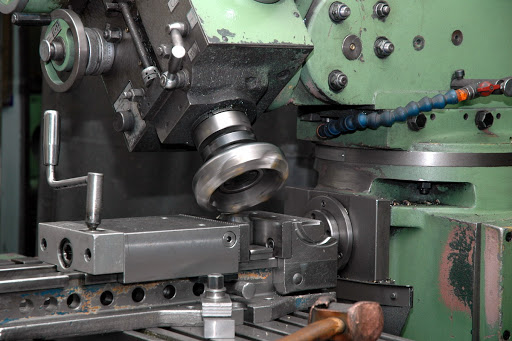 CNC Machining Vs Conventional Machining – Difference Between CNC Machining And Conventional Machining
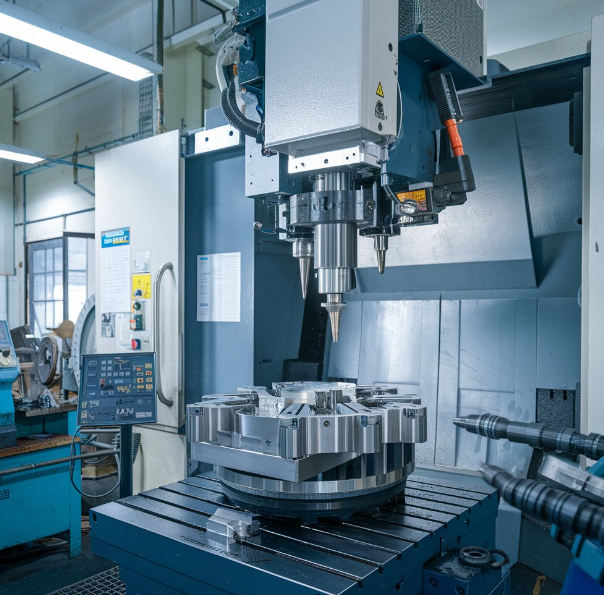 Why Choose China CNC Machining and How to Find the Best CNC Machining Manufacturer
