
Aluminum anodizing represents a prevalent surface finishing technique employed for machined parts. With various types of anodization available, we will delve into Type III anodizing. This discussion will encompass its definition, specifications, certification, achievable thickness, hardness, colors, applicable materials, process, benefits, and a comparison between Type 3 and Type 2 anodizing and hard coat anodizing vs plating.
What Is Type III Anodizing (Hardcoat Anodizing)?
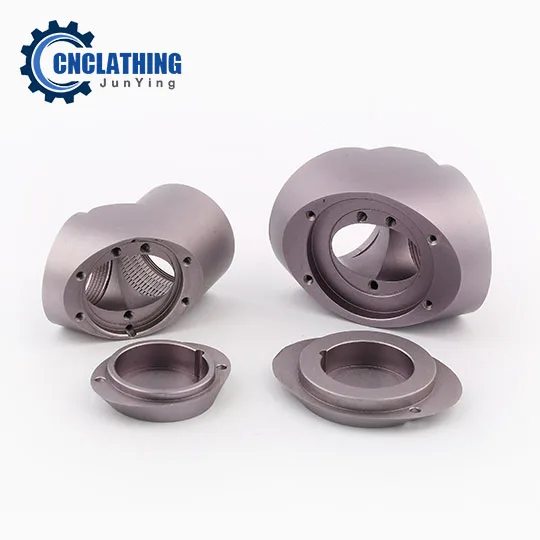
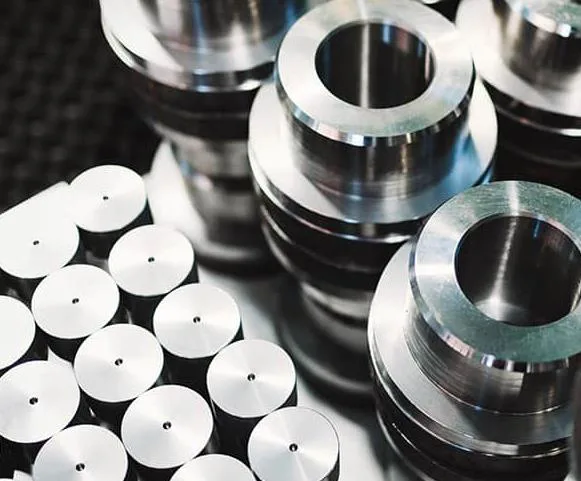
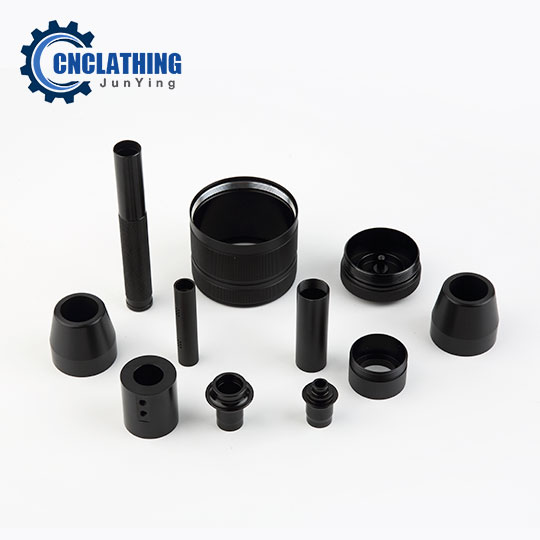
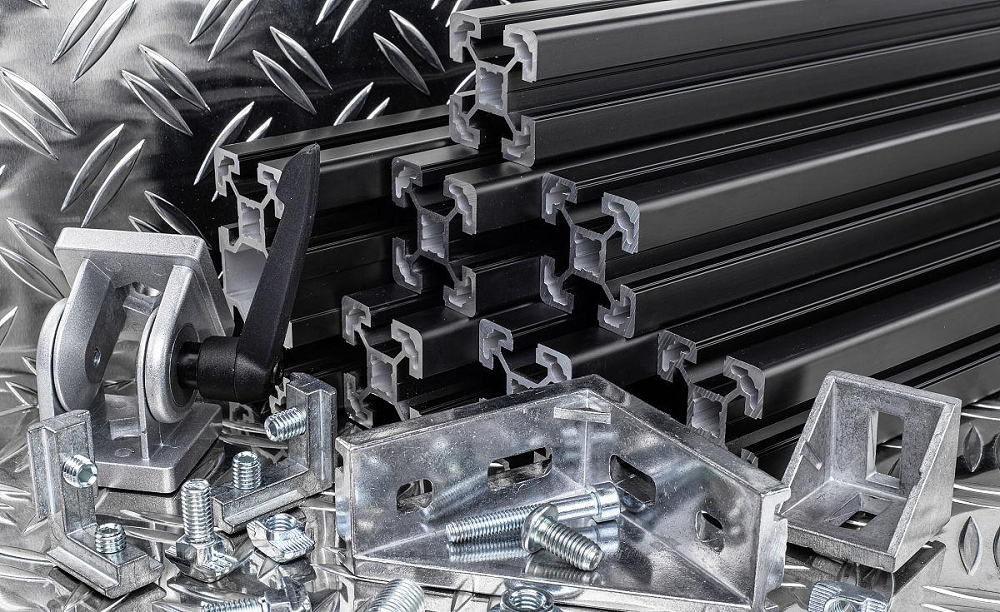
Type 3 anodizing, also known as Hardcoat/Hard Coat Anodizing or Hard Anodic Coating, is an electrochemical process that forms a dense, hard, and durable oxide layer on the surface of cleaned alloys, typically aluminum alloys. This surface treatment method usually follows military standard MIL-PRF-8625 (previously called MIL-A-8625). Hard Coat anodizing is the thickest of the three types of anodizing. This type of anodizing process can form a very thick oxide layer, which enhances the performance and properties of the alloy, including surface hardness, wear resistance, electrical insulation, and corrosion resistance.
About MIL-A-8625 Specification
The MIL-A-8625 has been renamed to MIL-PRF-8625, which specifies the technical requirements of six types and two classes of anodized aluminum alloys.
- MIL-PRF-8625/Mil-A-8625 Type I: Chromic acid anodizing, conventional coatings
- MIL-PRF-8625/Mil-A-8625 Type IB: Chromic acid anodizing, low voltage process (22±2 volts)
- MIL-PRF-8625/Mil-A-8625 Type 1C: Non-chromic acid anodizing, used as a non-chromate alternative for Type I and IB
- MIL-PRF-8625/Mil-A-8625 Type II: Sulfuric acid anodizing (clear coat anodizing), conventional coatings
- MIL-PRF-8625/Mil-A-8625 Type IIB: Thin sulfuric acid anodizing, can be used as an alternative for Type I and Type IB
- MIL-PRF-8625/Mil-A-8625 Type III: Hard anodic coatings
- MIL-PRF-8625/Mil-A-8625 Class 1: Non-dyed
- MIL-PRF-8625/Mil-A-8625 Class 2: Dyed
Type III Hard Coat Anodizing Thickness
MIL-A-8625 Type III coatings, often referred to as hard anodizing, have specific guidelines regarding their thickness. When an engineering drawing does not specify the coating thickness, the default thickness for Type 3 anodizing coating is set to 0.0020 inches (2 mils), with an allowable tolerance of plus or minus 0.0004 inches. This means the actual Type 3 aluminum anodizing thickness can vary by 20% around the nominal value. However, if a different thickness is required, it must be clearly indicated on the drawing along with the acceptable tolerance range. When it comes to the Type II anodize thickness, the general range would be 0.0001” to 0.0005”.
The shape of the part’s edges plays an important role in achieving a uniform coating. Specifically, corners should have a radius rather than a chamfer or broken edge. This is because the coating grows perpendicular to the surface, and sharp corners tend to cause uneven thickness and dimensional distortions. To avoid these issues, the MIL-A-8625 recommends certain minimum radii for different coating thicknesses:
- For a coating thickness of 0.001 inches, a radius of 0.03 inches is recommended.
- For a coating thickness of 0.002 inches, a radius of 0.06 inches is recommended.
- For a coating thickness of 0.003 inches, a radius of 0.09 inches is recommended.
Designers should ensure that all anodized edges have at least a 0.06-inch radius unless smaller radii are specifically chosen, understanding that smaller radii increase the risk of dimensional irregularities or surface appearance problems.
One of the most important aspects of Type III hardcoat is how it affects the dimensions of the part. The oxide layer formed during the anodizing process is significantly thicker than those formed by other types of anodizing. The coating grows both outward from the surface and inward by converting some of the metal underneath into oxide. Typically, about half of the coating thickness is the oxide penetrating into the metal, and the other half is the oxide layer growing outward from the surface. As a result, when the Type 3 anodizing is applied, the surface of the part effectively grows by approximately half the total coating thickness. But it is important to note that the inner coating thickness is not necessarily equal to the outer coating thickness.
Type III Hard Coat Anodizing Hardness
The standard hardness for hard coat anodizing is 60-65 HRC. Some hard coat anodizing processes can produce layers with a hardness of up to 70 HRC.
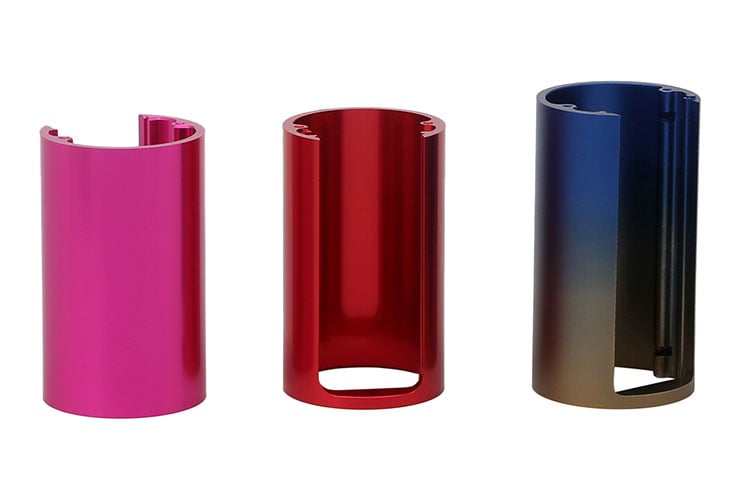
Hard Coat Anodizing Colors
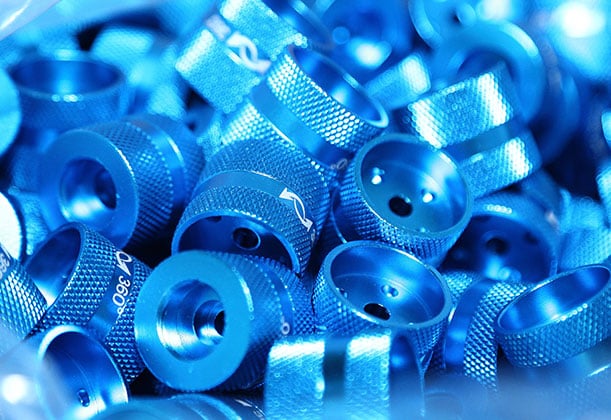
Can hardcoat anodized aluminum be colored? Yes, hard anodized aluminum can be colored. The coating darkens and takes on color due to the composition of the oxidation film and microstructure developed during the hard coat process. Specific aluminum alloys will develop characteristic colors in the oxidized hard coat. For example, 2000 series alloys produce a green or gray tinge from entrapped copper. The 6000 series aluminum forms an almost black oxide layer. Even light gray colored coats are possible with high temperature resistant 8000 series aluminum alloys undergoing hard coat anodizing.
What Materials Can Be Hard Anodized?
While other metals, such as titanium and magnesium, can also be anodized, aluminum is more commonly treated using this technique for protection. Cast aluminum and die-cast aluminum are widely used materials for hard anodizing treatment due to their excellent surface treatment performance. Cast aluminum alloys, commonly used as aluminum-silicon alloys and aluminum-copper alloys, are popular for their good casting performance and wear resistance. Pure aluminum is also common in hard anodizing treatment.
Duration of Hard Anodized Coating
Type III anodized coatings are not permanent. They can last for several years to several decades. They are commonly used for applications requiring good wear resistance. The severity of the wear environment affects the lifespan of the protective oxide layer.
Advantages of Type 3 Hard Coat Anodizing
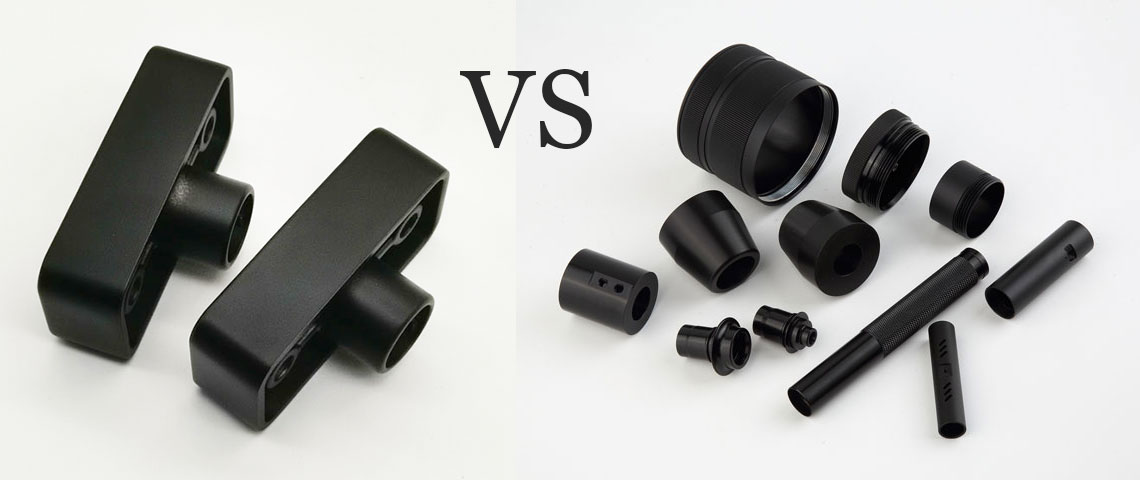
- Increased abrasion resistance and surface hardness. Hard coat anodizing makes the surface much harder than the underlying aluminum metal; the part will be much more durable and resistant to scratches, wear, and abrasion compared to bare aluminum. This extended lifespan and durability are excellent for parts that may see heavy use or contact.
- Acts as an electrical insulator. The oxide layer formed during anodizing is dielectric in nature, meaning it does not conduct electricity very well. The thicker the coating, the higher the electrical resistivity. This makes hard coat anodizing useful for applications where electrical or thermal insulation is required, such as electronic housings or parts that may experience voltage stresses.
- Improved corrosion resistance. The hard coating also serves as a barrier to protect the underlying aluminum from corrosion by water, chemicals, saltwater, or other corrosive environments. This extends the functional lifetime of anodized parts subjected to corrosion.
- Aesthetic benefits. The hard anodizing process can produce opaque, colored finishes that can enhance the visual appearance of parts. Different colors may also be specified for identification purposes.
Applications of Hard Anodized Parts
Type III anodizing has various applications, particularly in industries requiring high wear resistance, high corrosion resistance, and high bond strength with polymeric coatings and adhesives, such as piston rings and some valves, hinge mechanisms, gears, rotating joints, insulation boards, etc. However, hard anodizing is not suitable for threads. Here are typical uses of Type III hardcoat in different industries.
- Aerospace and Aviation: aircraft engine components, landing gear, and structural parts.
- Marine: boat fittings, propellers, valves, and underwater equipment.
- Automotive: pistons, cylinders, engine blocks, and suspension components.
- Electronics: heat sinks, connectors, and electronic enclosures.
- Sporting & outdoor: bicycle frames, fishing reels, climbing gear, and camping equipment.
- Defense & firearms: rifle receivers, pistol frames, and other firearm parts.
Type III Hard Coat Anodizing Specifications
• MIL-PRF-8625 (Mil-A-8625)
• MIL-STD 171 7.5.1 & MIL-STD 171 7.5.2
• AMS 2468 & AMS 2469
• AMS-A-8625
• BS 5599 & BS EN 2536
• ASTM B 580 & ASTM 2482
• BAC 5821
• PS 13208, PS 13201 & PS 13021.1
• HP 4-79
How to Remove Hard Anodized Coating?
1. Chemical
– Acid Washing: This is a commonly used method. By immersing the metal in an acid solution, such as HF-HCl or HF-HNO3 acid washing baths, the surface reaction layer can be quickly and completely removed without introducing other elemental contaminants.
– Alkaline Washing: Alkaline solutions can also be used, but specific details are less frequently mentioned.
2. Electrochemical
– These methods involve immersing the metal in an acidic or alkaline solution and removing the oxide coating through chemical reactions.
3. Other methods
When removing all thick anodic coatings, one of the best practices is to immerse the parts or load in a strong acid bath, such as a deoxidizer, or even an anodizing bath for 45 minutes, followed by rinsing and removing the coating.
Impact of Hard Anodized Coating Removal on Part Size
Removing the hard anodized coating will reduce the dimensions of the parts. This is because, as the anodized coating is forming, it actually penetrates the aluminum. Some of it permeates, while some accumulate. Consequently, if the coating thickness is 0.0050 inches, upon removal, the areas with the anodic coating may be approximately 0.0025 inches or larger than the areas without the coating. However, during the removal process, uncoated areas will start to etch before coated areas.
Aluminum Hard Coat Anodizing Process & Methods
There are some established fundamental and common hard anodizing processes that have been in use for a long time. These, along with many variants, form the basis of the processes still in use today.
Different Type 3 Anodizing Methods:
1. Martin Hard Coat Process (MHC)
The Martin Hard Coat process is one of the earliest and most versatile hardcoat anodizing methods, suitable for many aluminum alloys such as the 3000, 5000, 6000, and 7000 series. It uses a sulfuric acid bath at about 15% concentration and a very cold temperature near 32°F (0°C). Current density ranges between 20 to 25 amps per square foot. Under these conditions, a strong anodic coating around 1 mil thick forms in 30 to 35 minutes. For alloys with higher copper or silicon, the current is lowered to avoid weaker coatings. This process reliably produces hard, durable coatings but requires careful control of temperature and current for best results.
2. Alcoa Alumilite Mixed-Acid Process
Developed from the MHC process, Alcoa’s Alumilite method uses a mixed acid bath combining sulfuric acid (12%) with a small amount of oxalic acid (around 1%). Operating at a higher temperature of 48°F to 52°F (9°C to 11°C) and a current density of about 36 amps per square foot, this process builds a 1 mil coating every 20 minutes, including ramp-up time. The warmer bath is more energy-efficient and easier to maintain when anodizing varied parts and alloys. The addition of oxalic acid generally results in coatings that are as hard or harder than those from the original MHC method, making it a preferred choice for diverse applications.
3. Higher Temperature Sulfuric Acid Variation
A simpler variation of the Martin Hard Coat process involves increasing the sulfuric acid concentration to 15–20% and raising the bath temperature to approximately 45°F (7°C), while adjusting current density between 24 and 36 amps per square foot. This method provides greater flexibility when anodizing alloys with higher copper or silicon content, helping to maintain coating hardness and quality. It is an easy-to-use process that adapts well to different alloy compositions without sacrificing performance.
4. Glycerin and Glycolic Acid Additive Variation
Another notable variation adds about 3% by volume of glycerin and glycolic acid to the sulfuric acid bath, which can be operated at temperatures as high as 70°F (21°C). This additive combination enhances the hardness of the anodic coating significantly, allowing for hard, durable finishes even at warmer bath temperatures.
Common Type 3 Aluminum Anodizing Steps:
1. Cleaning the aluminum part
The first step in hard coat anodizing is thoroughly cleaning the aluminum piece to remove all dirt, grease, and other contaminants. because any leftover impurities can weaken the anodized layer or cause defects. This is usually done using an alkaline solution that effectively breaks down oils and residues. After cleaning, the part is rinsed with deionized water to wash away any remaining cleaning agents, ensuring a pristine surface ready for the next step.
2. Surface etching
In some cases, the aluminum requires a mild etching treatment to smooth the surface and remove the natural oxide that forms when aluminum is exposed to air. This natural oxide layer is uneven and not suitable for hard coat anodizing. The etching process uses acid to create a uniform, clean surface, improving the adhesion and consistency of the anodic coating. This step helps ensure the hard coat forms evenly and adheres strongly to the metal beneath.
3. Submerging in the anodizing bath
Next, the aluminum part is immersed in a sulfuric acid electrolyte bath, which is carefully temperature-controlled, usually close to freezing. An inert cathode, commonly made of graphite or lead, is also placed in the bath. The aluminum acts as the anode when connected to the positive terminal of the power supply, setting the stage for oxidation on its surface.
4. Applying electrical current under controlled conditions
An electrical current is passed through the bath, causing oxygen to form on the aluminum surface and react with it to build a thick aluminum oxide layer. This step is performed at a lower temperature and higher current density than conventional Type 2 anodizing, which produces a denser, harder, and less porous coating. The sulfuric acid bath is kept agitated by air bubbles to maintain uniform temperature and improve coating quality. Voltage can be increased up to 120 volts to overcome the rising resistance as the oxide layer thickens, allowing precise control of coating thickness.
5. Sealing the anodized kayer
Once the desired thickness of the hard coat is reached, the aluminum part is removed from the electrolyte bath and immediately sealed. Sealing is typically done by immersing the part in boiling deionized water, steam, or a nickel acetate solution. This process closes the microscopic pores in the oxide layer, drastically improving corrosion resistance and helping the coating retain dyes if coloring is applied. Proper sealing also enhances the wear resistance and longevity of the anodized surface.
6. Final rinsing and drying
After sealing, the part undergoes a final rinse to remove any residual sealant or chemicals from the surface. It is then carefully dried, completing the hard coat anodizing process. At this stage, the aluminum part boasts a tough, abrasion-resistant, and corrosion-resistant surface that can also be dyed for aesthetic purposes if desired.
Anodizing Type II vs. Type III – Hard Anodized vs. Clear Anodized
Type II anodizing is also known as the regular or clear anodizing. Type 2 and Type 3 are different in the process, thickness, cost, and other aspects.
1. Coating Thickness
One of the main differences between Type II and Type III anodizing is the thickness of the oxide layer they produce. Type II anodizing creates a relatively thin coating, typically between 2.5 and 25 micrometers. Type III anodizing forms a much thicker and denser oxide layer, usually 40 to 60 microns.
2. Typical Applications
Anodisation Type II is often chosen for its aesthetic versatility and moderate protection. Because it produces a thinner and more uniform coating, it is widely used for decorative purposes, architectural elements, and components that need corrosion resistance but are not exposed to extreme wear. On the other hand, Type III hardcoat is generally used to protect parts like brake calipers, firearm components, landing gear, and marine hardware from severe wear, corrosion, and extreme environmental exposure.
3. Process Conditions
While both Type 2 and Type 3 anodizing commonly use sulfuric acid electrolytes, the process conditions differ significantly. Type II generally occurs at higher temperatures and lower voltages, while Type III involves lower temperatures and higher voltages, which helps form a thicker and harder oxide coating.
4. Appearance and Finish
Type 2 anodize offers a wider range of color options and finishes, including matte, satin, and bright hues, because its thinner oxide layer is easier to dye and polish. Conversely, Type 3 anodize results in a thicker, darker, and more industrial-looking surface that is less uniform in color and finish, which typically limits the ability to achieve bright or varied colors and focuses more on protective qualities.
5. Impact on Material Dimensions
Because Type II clear anodizing produces a thinner coating, it causes minimal changes to the dimensions and tolerances of the treated parts. The thicker oxide layer from Type III hard coat anodizing will significantly alter the dimensions, and designers should consider that.
6. Cost and Complexity
Type III anodizing is generally more expensive than Type II anodizing. The requirement for lower temperatures, higher voltages, and longer processing times increases energy consumption and complexity, which drives up production costs.
7. Properties and Durability
Because of the thicker and denser coating, Type 3 hardcoat has higher abrasion resistance, hardness, thermal shock properties, and durability than Type 2.
Related Articles:
 What Is Alodine (Chem Film) – Alodine Coating Thickness, Process, Types & Chem Film vs Anodize
 What is Anodizing & Anodization | Junying Custom Metal Finishing Services
 What is Anodized Aluminum and Everything You Should Know About Anodizing Aluminum | CNCLATHING
 Black Anodizing Process, Benefits, Uses & How To Black Anodized Aluminum/Titanium?
 What Is Anodizing – Aluminum Anodizing Process, Application And Manufacturing
 Aluminum Anodizing vs Powder Coating – Difference Between Anodizing and Powder Coating