- Home
- Machining techniques
- CNC Machining Services
- Cooperative supply services
- Designs
- Materials
- Finishing Services
- Shop
- Products
- Guide
- About Us
- Contact Us
2022.10.31
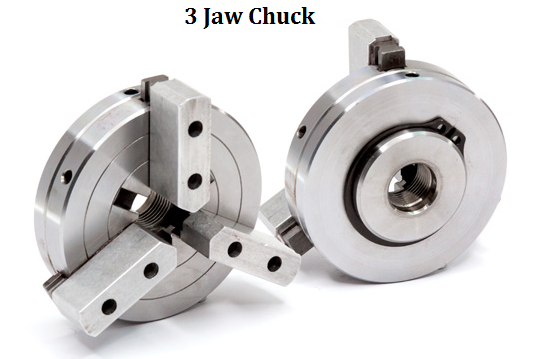
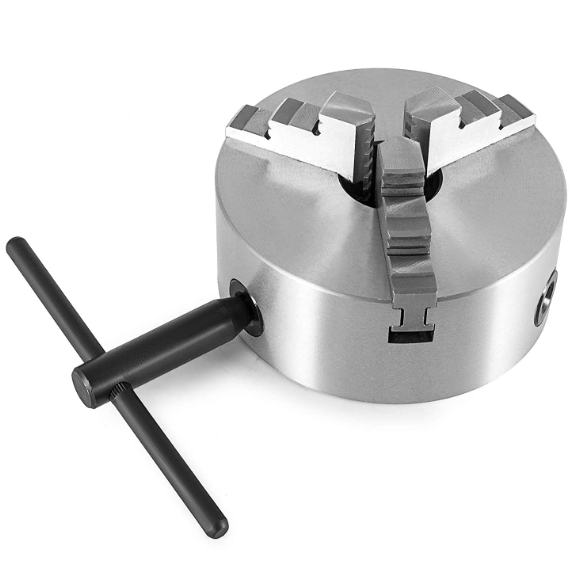
Lathe is a kind of metal processing machinery, and chuck is one of the more important parts in the process of lathe processing. Chuck is a clamping tool, which can help us clamp the selected materials on the lathe, so that the lathe can rotate at a high speed without flying away. Usually, the operator or automatic loading and unloading robot places parts on the lathe chuck, and then uses the spindle and cutter for turning. The following will mainly introduce the method of removing and installing the lathe chuck.

 What is Three Jaw Chuck & How Does It Work | Lathe Chuck Types | CNCLATHING
 What Is a Collet Chuck | Collet Chuck vs 3 Jaw Chuck, What’s the Difference
 Guide to CNC Chuck: Definition, Working Principle, Parts, Types and CNC vs Manual Chuck
 How To Select The Right CNC Lathe Spring Chuck?
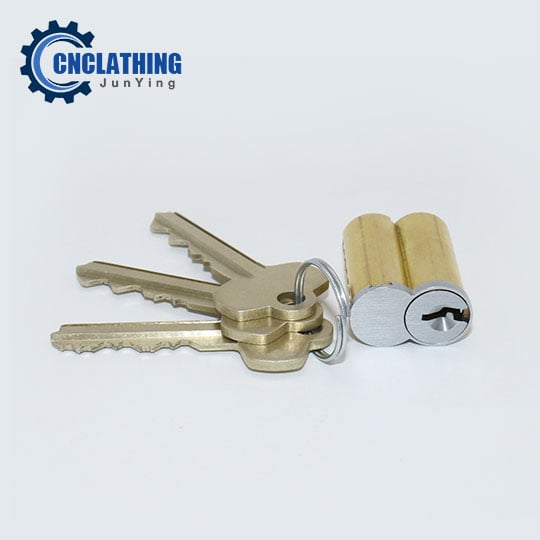 How to Choose Door Locks – Door Lock Buying Guide & Selection Tips | CNCLATHING
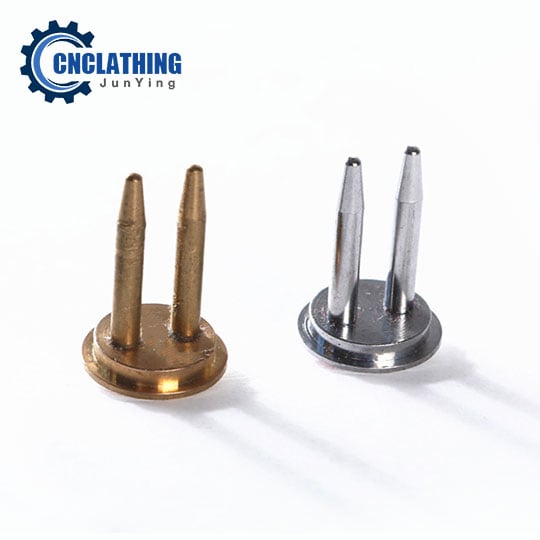 Cam Lock Types & Applications | Cam Specification, Mounting Hole Size and More
