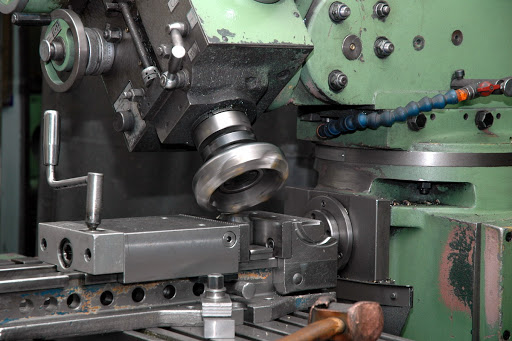
1) Turning Process:
– Choose a lathe with an appropriate chuck or collet for holding the acrylic workpiece.
– Select a sharp cutting tool made of carbide or diamond with a nose radius between 0.003 and 0.020 inches.
– Set the spindle speed to a range of 3000-4000 RPM and the feed rate to a range of 0.002-0.006 inches per revolution.
– Ensure that the acrylic is firmly held in place, and begin turning the workpiece until it reaches the desired shape and finish. It’s important to avoid excessive pressure or temperature that can cause the acrylic to deform or melt.
2) Milling Process:
– Choose a milling machine with an appropriate cutting tool holder and spindle speed range.
– Select an appropriate end mill with a sharp cutting edge and small corner radius, usually made of carbide or diamond.
– Set cutting speed to around 2000-3000 SFM and the feed rate to a range of 0.001-0.006 inches per tooth.
– Secure the acrylic workpiece securely in place and begin the milling process, ensuring that the cutting tool is properly aligned, and the depth of cut is appropriate for the material and the machine setup.
Acrylic machining considerations and tips
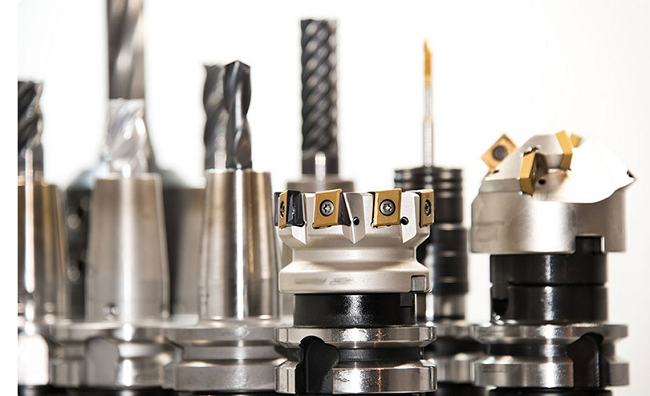
1. Tool Selection: Choosing the right cutting tool is essential in acrylic machining to achieve a smooth finish and avoid chipping or cracking the material. Tools with sharp edges and high rake angles are recommended for turning, while end mills with low helix angles and high relief angles are suitable for milling.
2. Speed and Feed: The cutting speed and feed rate are critical parameters that affect the quality of the cut and the tool life. Acrylic materials have low melting and softening points, it’s recommended to perform the machining process at high speeds and low feed rates to avoid melting or melting ribbons.
3. Cooling and Lubrication: Acrylic machining generates a lot of heat, which can cause the material to melt and stick to the cutting tool, resulting in poor surface finishes and tool wear. Therefore, using a coolant or lubricant (water-based preferably) during machining can reduce heat and improve the machinability of the material.
4. Chip Control: Acrylic materials tend to produce long, stringy chips that can wrap around the cutting tool, leading to chip clogging and tool breakage. The use of chip breakers or compressed air can help control chips and improve machining efficiency.
5. Fixturing: Proper fixturing of acrylic materials is critical to avoid workpiece movement or deformation during machining, which can result in inaccurate cuts or surface finishes. Therefore, using appropriate clamping methods or vacuum fixtures can ensure stability and accuracy during the machining process.
6. Safety: Acrylic machining produces fine dust and fumes that can be harmful to human health. Therefore, ensuring adequate ventilation, proper personal protective equipment, and using a dust collection system can reduce the risk of exposure to dust and fumes.
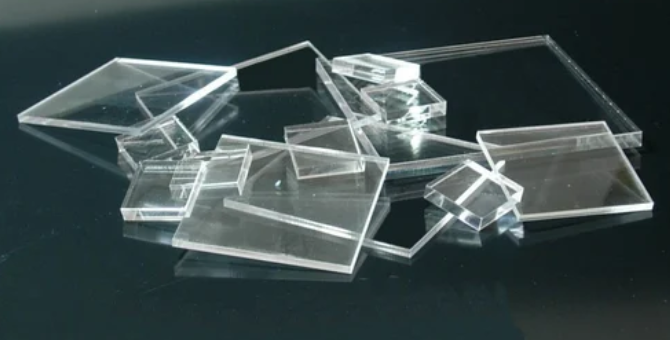
7. Material Selection: Acrylic is available in different grades, including extruded and cast acrylic. Cast acrylic is generally preferred for machining because it has more uniform properties and is less prone to cracking than extruded acrylic. Thicker sheets of acrylic can be more difficult and time-consuming to machine than thinner sheets. Different colors of acrylic may have slightly different properties. Some types of acrylic are easier to machine than others, so it’s important to select a grade that is appropriate for the machining process and tools being used.
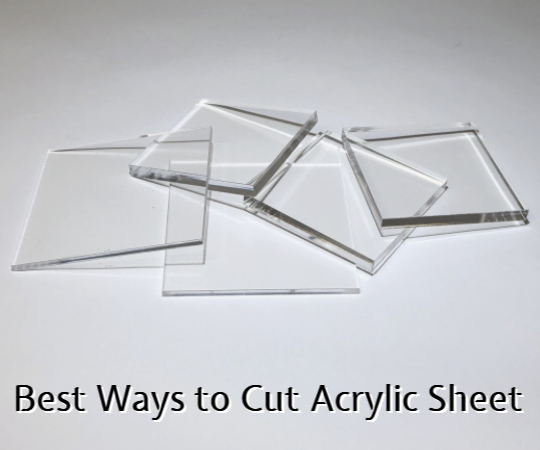 How to Cut Acrylic (Plexiglass) Sheet Without Cracking | Best Way to Cut Acrylic Sheet
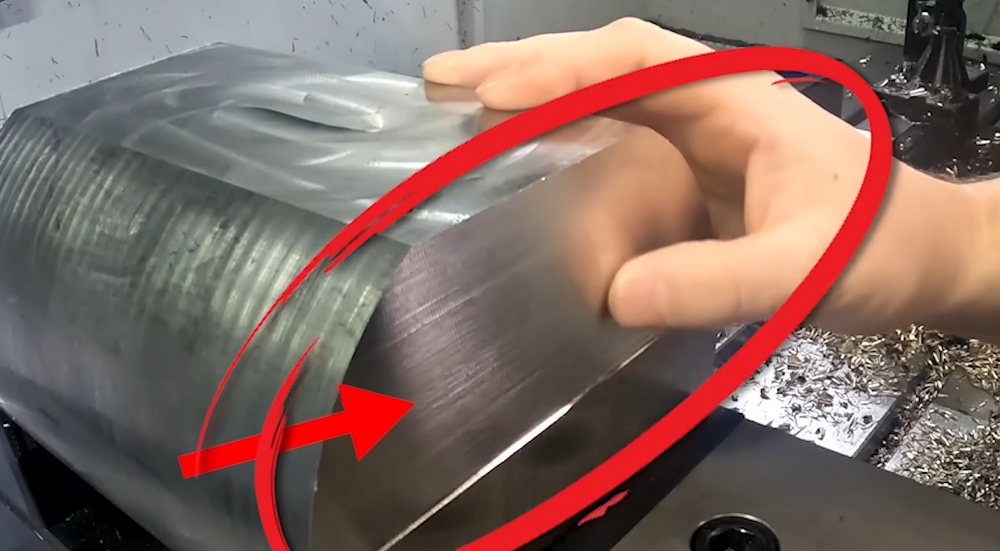 How To Reduce & Stop Chatter Vibration in CNC Milling/Turning/Drilling/Grinding Lathe?
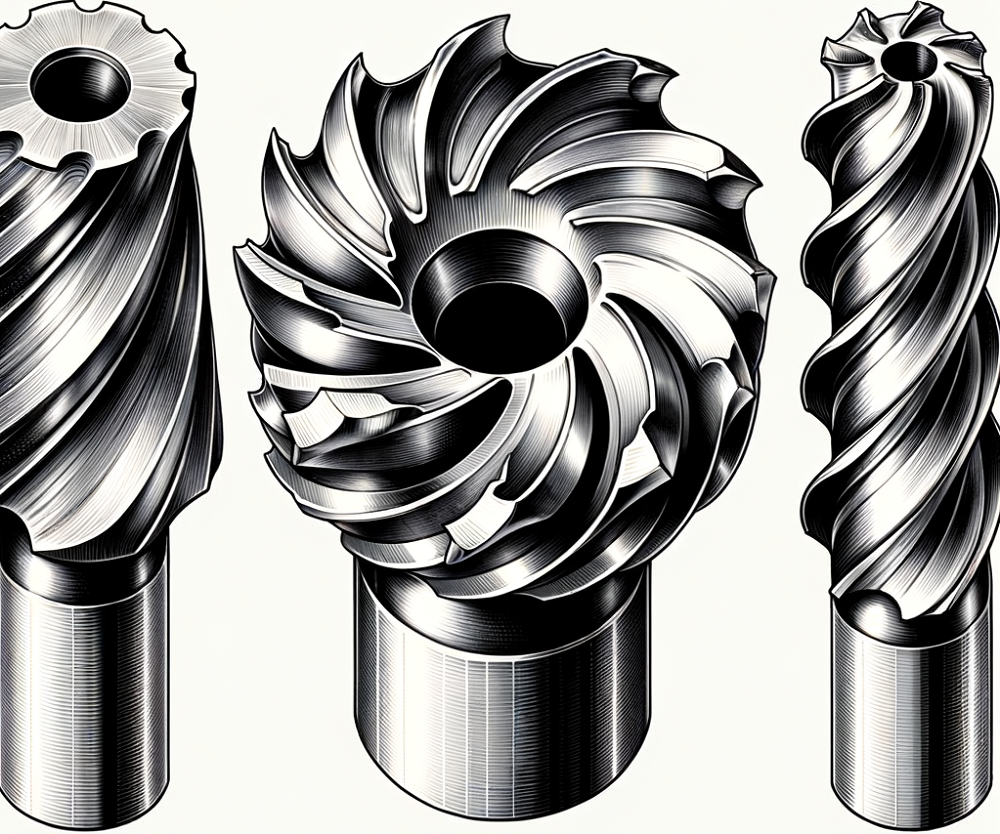 Face Mill vs Shell Mill vs End Mill Cutters: Differences & When To Use Each Milling Cutter?
 Top 12 CNC Machining & Programming Experiences | CNCLATHING
 Custom Robotic Components Guide: Advantages, Process, Price, Material & Tool Selections
 CNC Machining Vs Conventional Machining – Difference Between CNC Machining And Conventional Machining
