- Home
- Machining techniques
- CNC Machining Services
- Cooperative supply services
- Designs
- Materials
- Finishing Services
- Shop
- Products
- Guide
- About Us
- Contact Us
2021.7.13
What Is Window Machining?
Window machining lets us really simplify a lot of fixturing, especially the fixed stream for that second or third operation by letting the material serve as the fixture itself and that’s done so with tabbing. tabbing is oftentimes where you’re holding on with a vise or a dovetail and you want to self-fixture that material machining the part down to there’s one final tab holding that part on.
Window Machining On 3-Axis Machining With 2D Contour Tabbing, & Hot Glue
Let’s start with a part like a linkage rod, several cool machining tips were used beyond tabbing and machining, we used a lollipop cutter to cut the internal radiuses to make this universal joint, window machining let us make this part without having to have additional op2 and op3 fixtures by flipping the part over and holding inside of a window effectively, a relatively inexpensive piece of aluminum, machining it through using the tab function within 2d contour infusion 360. you can leave those tabs in place and snip them off file them out or scratch write them out, or our preferred way – hot glue. what hot glue lets you do is pot the part, you don’t need that much work holding rigidity and hot glue tends to be sufficient. then you use 2d contour, usually, you leave a few thousand stocks to leave technically to say of the part to come back and machine off those tabs in place. in this example, we added hot glue around the part. the problem with that is the hot glue will build upon the end mill. so a better technique is to only add hot glue on areas around the part not near the tabs, leaving the tabs open and exposed, so that when you machine them you’re not machining through that hot glue.
Backside Chamfering With 3-Axis Window Machining Multiple Parts
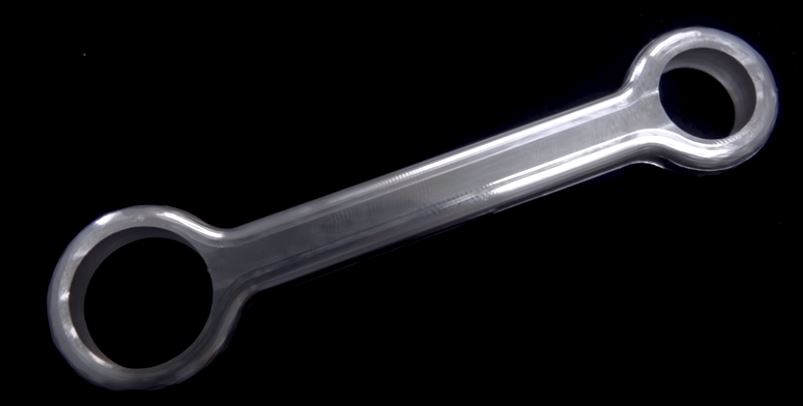
Widget 181, we made a pair of gears, grabbed two pieces of raw material to make sure they were large enough in ‘y’ to fit the part plus the tool path around the periphery of the part. we wanted to do as much as we possibly could in this first setup if you don’t want to have to reorient the part in an op 2 fixture for a proper backside chamfer. you should go ahead and backside chamfered the part in op 1, then profile around the part only leaving a few tabs in. then flip it over to do a backside deck, you could also turn it in the lathe. there is still an opt 2 in this part, but what was great is the opt 2 doesn’t require any clocking or orientation of the part. thus a much simpler and less risky opt 2.
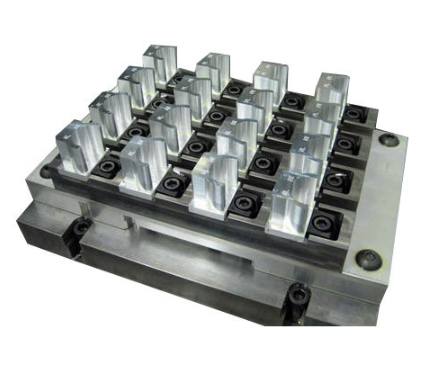
3-Axis Using Material as the Op 2 Fixture & Creating Locating Geometry
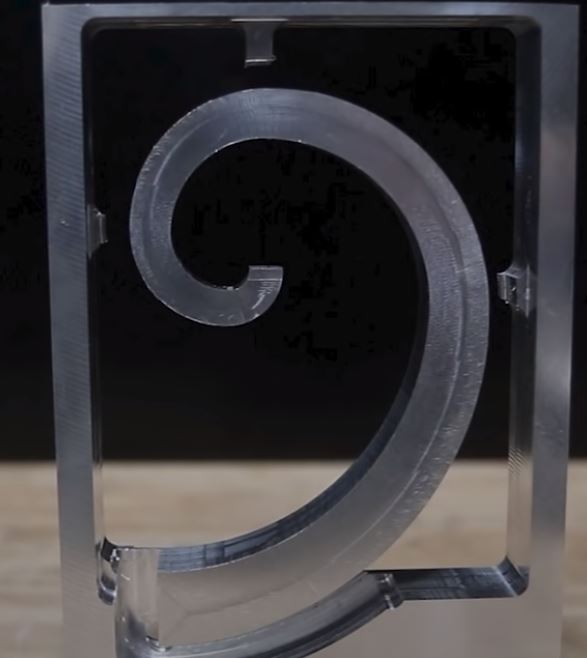
Widget 145 is the perfect example of what you can do with window machining: not only by holding the parts in place or self fixturing but also by the ability to flip the part with the material itself surfing as the fixture. Widget 145 is the part that represented the golden ratio, what would make this part otherwise difficult is that the part tapers. in this very tutorial of how to model the part how to set it up and included a locating feature for when flipping the part. left three small tabs toward the top of the part and one larger tab at the bottom, machine the three smaller tabs completely away leaving only the tab at the base of the part.
3-Axis, 4-Axis, and 5-Axis Tabbing Strategies
Next up is an example of when you leaving a thicker tab, this works great when you already know you have to do an additional machining strategy on that backside where you can also machine off that otherwise thick tab. next, you can use thinner tabs small enough that you can tear them off by hand or cutaway with a pair of snips. the benefits of tabbing with multiple tabs either on the same plane or a better strategy are to put two or three tabs on two different planes. this helps prevent the part from flopping away. flopping parts look great on Instagram, but it’s much nicer to have the part held stably in place until the absolute end. window machining is the absolute best way to do this part in one set of one operation and toward the end, use hot glue to pop that part in place, machine chamfer and deburr every single surface of this part in a single setup before it came off the machine. Window machining on the same piece of raw material, you use a clamp up on the top right to secure your part in place. essentially think of the clamp as doing the job of the hot glue holding that part in place when you want to finish off that final tab. the use of slitting saws to cut away either the tab or the whole part.
3+2 Positional Window Machining, Hot Glue, & Tabs
Finally, let’s dedicate to the window machine plus the hot glue technique. the key to a decal scraper is to think about the tooling strategy to maintain rigidity throughout a part by machining the parts furthest away from the vise first, but that way we’re able to get the good surface finishes chamfers and engraving. tab it, pot in with hot glue, and zipped off the two sides. that’s how you can build this part in one operation, one setup.
 Difference Between Jig and Fixture | Fixture and Jig Definition, Types, Uses and Difference | CNCLATHING
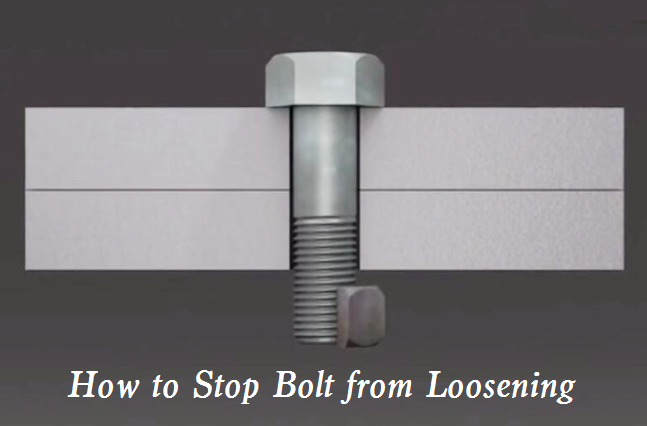 How to Stop Bolt from Loosening – 8 Thread (Fastener) Locking Methods
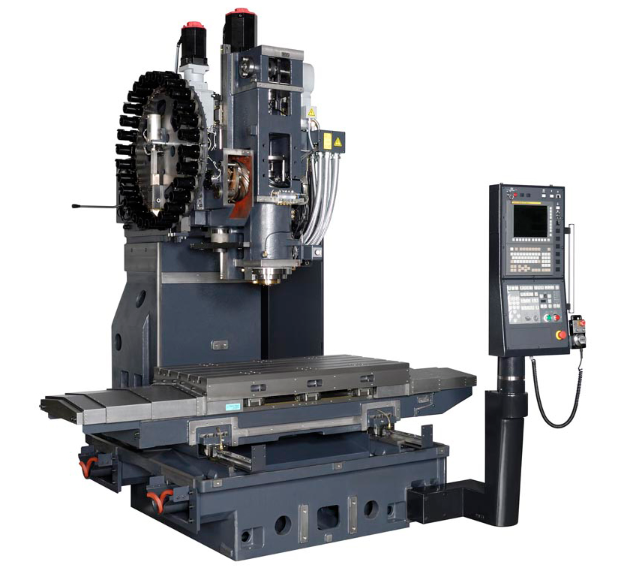 What is CNC Vertical Machining Center – VMC Machine Applications & Difference Between Horizontal Machining Center
 What is a CNC Fixture | How to Select Right CNC Fixtures or Clamps | CNCLATHING
 Specific Methods & Skills Of Wire EDM Machining | CNCLATHING
 CNC Machining Vs Conventional Machining – Difference Between CNC Machining And Conventional Machining
