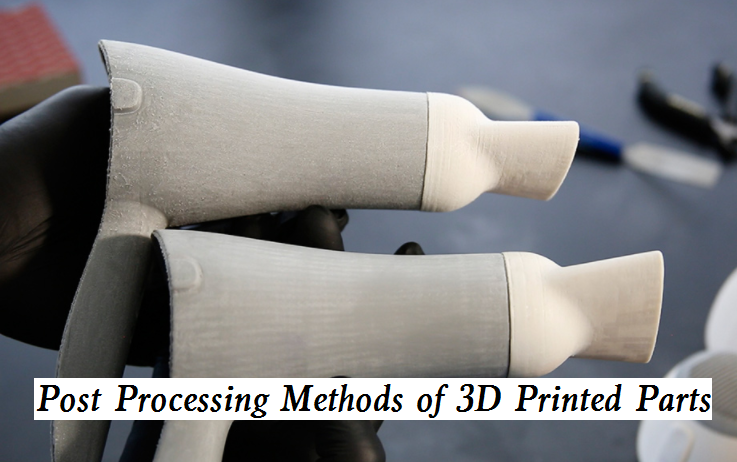
1. Grinding and polishing
Due to the forming principle of 3D printed parts, there will be ladder-like laminations on the surface of the models. These laminations are unavoidable even for the most sophisticated printers. Although we can adjust the parameters or the placement position of the model during layering to make the layering sense less obvious, the slightest texture will still affect the overall sense of the model. In order to remove these laminations, we need to use sandpaper for polishing. We use different tools to polish according to the roughness of the surface. Sandpaper is the most common tool for polishing. It should be noted that some water should be added before polishing to avoid the material being too hot and fluffy. Generally, there are 400/600/800/1000/1200/1500 grit sandpaper. The lower the grit, the larger the sandpaper particles. The printing sequence starts with the lowest one. However, because the surface flatness of the printed items is different, it is not necessary to completely follow the fixed order. You can also go directly to 800 after using 400, mainly according to the actual situation at that time.
2. Smoothing
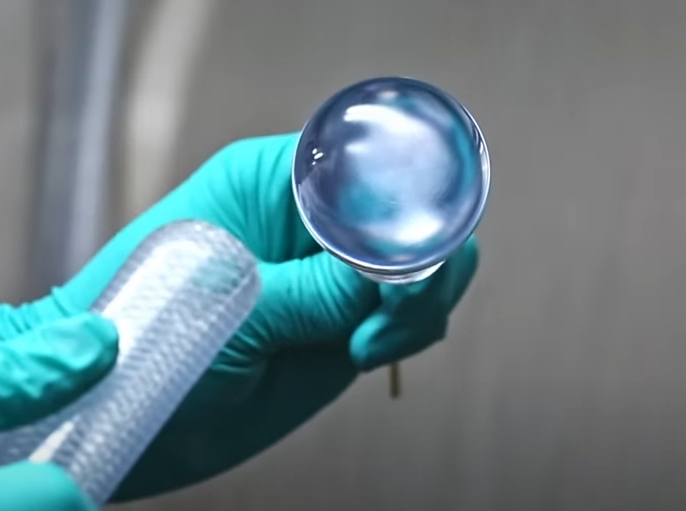
Acetone has the ability to melt ABS, so this means that ABS components can be connected with acetone. This process is quite simple. Apply a little acetone to the parts you want to glue. This will cause the plastic to melt slightly. At this time, stick another part to the melting edge and splice them together. It should be noted that acetone is a harmful chemical. It is suggested that the operation should be completed in a well-ventilated environment and with safety equipment such as gas masks.
3. Painting
Priming is a post-processing technology used to prepare for the painting of 3D printed parts. To put it simply, it is to apply primer or spray primer on the parts as the primer of the paint to be applied later. Before applying the primer, it is better to polish your parts with low-grade sandpaper and medium-grade sandpaper. This removes the lamination and smoothes the surface. After polishing, apply two coats of primer. Primer spraying is a necessary step before the mold is painted. After priming, wait for the part dry and then painting can be carried out. Painting can be done with a brush or by using sprays.
4. Surface sandblasting
This is also a common polishing method, which can also ensure smooth surface treatment. The operator holds the nozzle by hand to polish the model. The principle is to use compressed air as the power, which has caused a high-speed jet beam to spray the material to the model surface to be treated to achieve the polishing effect. Sandblasting is faster than grinding. Regardless of the size of the model, the surface can be smoothed by sandblasting.
5. Bonding assembly
Some oversized and multi-part or split print models often need to be glued. The best way to complete the bonding is to wipe the glue at the time of the point, and then fix it with a rubber band to reasonably promote the bonding closer. If there are gaps or rough contacts in the bonding process, glue or filler can also be used to smooth them.
6. Model coloring
In addition to the fineness of printing, the quality of a model depends on its coloring. Acrylic pigment should be the most accessible pigment. It is cheap and has various colors for easy color mixing. It is the easiest choice for a novice. But if you want to use acrylic paint to color the whole model, you need to work hard to get a smooth and even color effect. Therefore, acrylic pigment is not recommended for large-area painting. Model paint: the best choice for large area coloring of models. Compared with an acrylic brush, the paint is more uniform and smooth. Marker pens are the best choice for coloring and marking the details of the model.
The painting method is relatively simple and suitable for painting small models or detailed parts of models. In order to spray the ideal effect, the trial spraying shall be completed before the painting is completed to check whether the operation and concentration are suitable, and to reasonably prevent waste of resources. The paint can also be evenly sprayed on the surface of the model, greatly saving time. The hand painting method is more suitable for handling complex details. When painting, follow the shape of “#” for two or three times of flat painting, which can lighten the pen lines caused by hand painting and make the color symmetrical and full. In order to make the paint more smooth and uniform, you can also drop some solvents of the same brand to complete dilution in the mixing dish.
 What is Vapor Polishing – Vapor Polishing Materials and Industries
 Guide to Painting Aluminum Parts: Preparation, Steps & Best Paint for Aluminum
 How to Design Parts for 3D Printing – Design Principles for 3D Printed Parts
 Comparison Guide For 3D Printing Materials – Characteristics, Printing Parameters & More
 Vapor Polishing for Polycarbonate, ABS, Arcrylic & Nylon
 Best 8 Design Libraries & Sites for Free CAD Files Download – How to Get Free 3D CAD Models | CNCLATHING
